HP-50G Blue Graphical Calculator repair
This machine was dropped on a desk and stopped working.This was a new calculator, in pristine condition, barely used before.
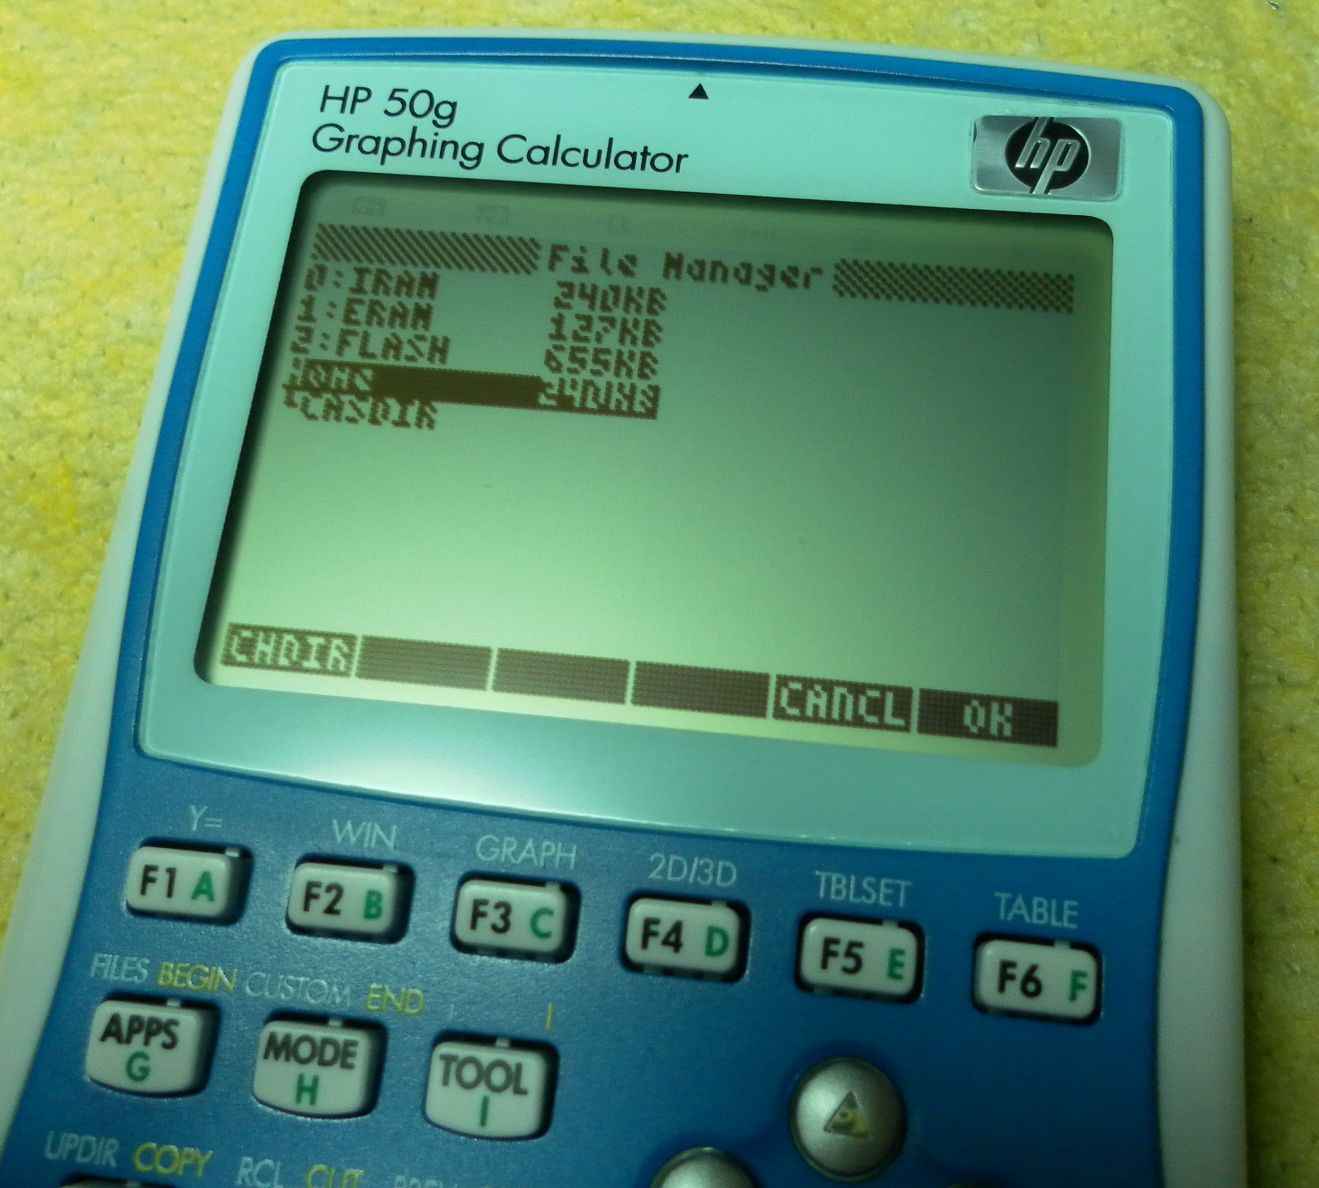
Well, in fact the calculator would turn because it beeped after a memory clear, but the display appeared to be totally dead. No scratches or dents were visible after the accident, and the display looked physically perfect.
So I had nothing to lose, and decided to have a look inside.
Using a suction cup, have removed the plastic screen lens.
This operation requires a small suction cup (see this example by Erwin Ried), no larger than 5cm in diameter, in order to be able to apply extraction force at one of the corners at a time.
I had to apply a few Kg of force in order to be able to lift the plastic lens. This is because the adhesive underneath is very strong.
I have worked one corner at a time, and initially the cover lens didn't move at all, but the adhesive was being broken underneath.
I thought to use an hair drier to apply hot air over the display to soften the adhesive a little bit, but it was not needed.

Have removed the two top self tapping screws, in order to have both halves of the case free to be taken apart.

To take the two halves apart, I used two of my usual pry plastic tools (easy to find them on eBay under repair tools for mobile equipment) to separate them. Have started at the top side, by inserting the pry plastic tools between the lower white cover and the upper blue cover and sliding the tools towards each corner.
We need to be patient doing this, until the lower cover starts to lift on one of the lateral sides, so have slide the tool along the that lateral side to open the latches (four per side). Then repeated the operation on the other side.
If you try this, please do not use metallic tools on the plastic case as it may leave marks (dents, scratches) of the operation.

A word of caution: Do not separate the two halves apart more than two cm (one inch), or the buzzer wires may be broken and the worst case scenario would be a inoperative buzzer if the wire rips off part of the delicate buzzer structure.
Should a wire broke at the buzzer side, a low power (20Watt maximum) iron solder should be used to solder the wire back to the buzzer.
I have just cut the buzzer wires at the PCB side in order to be able to troubleshoot the problem.
Then have removed the RF shield by just peeling it of with caution to not rip it of.
This calculator was never opened before, because the RF shiled was intact.
It is impossible to remove it without breaking it at both sides because it is wrapped around the PCB before the PCB was fixed to the upper case using plastic rivets (and a few self tapping screws as well).

The two PCB components quality is good and up to the current standards in automated manufacture.
However, the assembling of the PCB's really have space for improvement. The solder joints were left uncleaned of the solder flux/resin, some had that look of badly soldered joints, most probably due to insufficient applied heat to melt the solder with the leads. Obviously this was a manual assemblage using man power.
So, because the display failure was caused by a sudden deceleration, and considering the lousy aspect of the solder joints, I used a ohmeter to check it.
And yes, one of the solder joints was simply broken. Now, this solder joint was a time bomb waiting to explode any time. The calculator accident just triggered it.


Have used a low power solder iron to fix the joint, inseretd a set of batteries, and the display was back.